
#kitchaine #maintenancemoto
The maintenance of your chain kit should be taught as part of your motorcycle driving test. It's true, isn't it? It's a key part of your bike, responsible for transmitting power from the engine to the rear wheel. So you might as well pamper it. If you're reluctant to carry out this maintenance yourself, don't worry: it's very simple. We'll guide you step-by-step through this basic but essential operation.
What is a chain kit?
A chain kit consists of 3 elements: a small sprocket at the gearbox output, a chain and a large sprocket fixed to the rear rim. What does it do? To transmit rotational energy from the engine to the wheel. A worthy mission. But by the way, do all motorcycles come with a chain kit? It's not a stupid question. And the answer is no. In fact, some bikes (notably BMWs) feature a cardan drive. On the Harley side, you'll also find models with belts rather than chains.
How often should you inspect your chain kit?
To give you an idea, imagine that a well-maintained chain kit can last between 30,000 and 40,000 kilometers, whereas without attention, it will rarely exceed 10,000 kilometers. With prices ranging from €100 to €200, the math is pretty simple. So, a good cleaning is recommended every 500 to 1000km. When you love it, you don't count! Do you like to dabble in ruts and throw your bike into quagmires? We recommend that trail riders increase the frequency of maintenance. Mud baths are good for your skin, but not for chain lubrication.
What's the risk if you don't regularly maintain your chain kit? The formation of hard spots. This is what we call two links which - in the absence of lubrication - oxidize and seize up. This happens especially if you leave your bike in the garage for a long time with a dry chain. The symptoms are easy to spot: a jerking transmission accompanied by a delicate symphony of clattering noises.
How to maintain your motorcycle chain kit? A complete 4-step operation: clean, lubricate, check, adjust.
The 1st thing to do is clean your chain.
Why not just put some grease back on? Well, that would be a bit like taking a ticking clock without brushing your teeth. The bestway to clean your chain is with a dedicated cleaning product and a toothbrush (which you're not going to use again, are you?), or even better: a chain brush. What to avoid? Use your favorite unleaded. This will damage the O-rings in the chain. In the absence of motorcycle-specific spray, F-gasoline will do the job just fine (and it's available in DIY stores).
----> IPONE Chain Cleaner 750 ml
![]()
Let's move on to lubrication, because as you know, "grease is life".
There are two schools of thought here: spray and paste. An aerosol product will easily penetrate the spaces between the links, but will be more "volatile". Solid grease, on the other hand, has the advantage of sticking better to the chain and greasing O-rings particularly well. The only drawback is that your chain will clog up more quickly than with an aerosol. Cleaning before relubrication must therefore be particularly rigorous. In both cases, the lubricant is applied evenly across the entire width of the chain, by turning the rear wheel. You have three options: a bike with a center stand, a workshop stand or a patient buddy. The mistake to avoid? Putting grease on your braking system. Well, yeah, it's immediately going to work less well. In the best case, it'll cost you a pair of underpants, in the worst case, a canyoning session in the first ditch.
----> Chain lubricant IPONE X-Trem Chain ROAD 750 ml
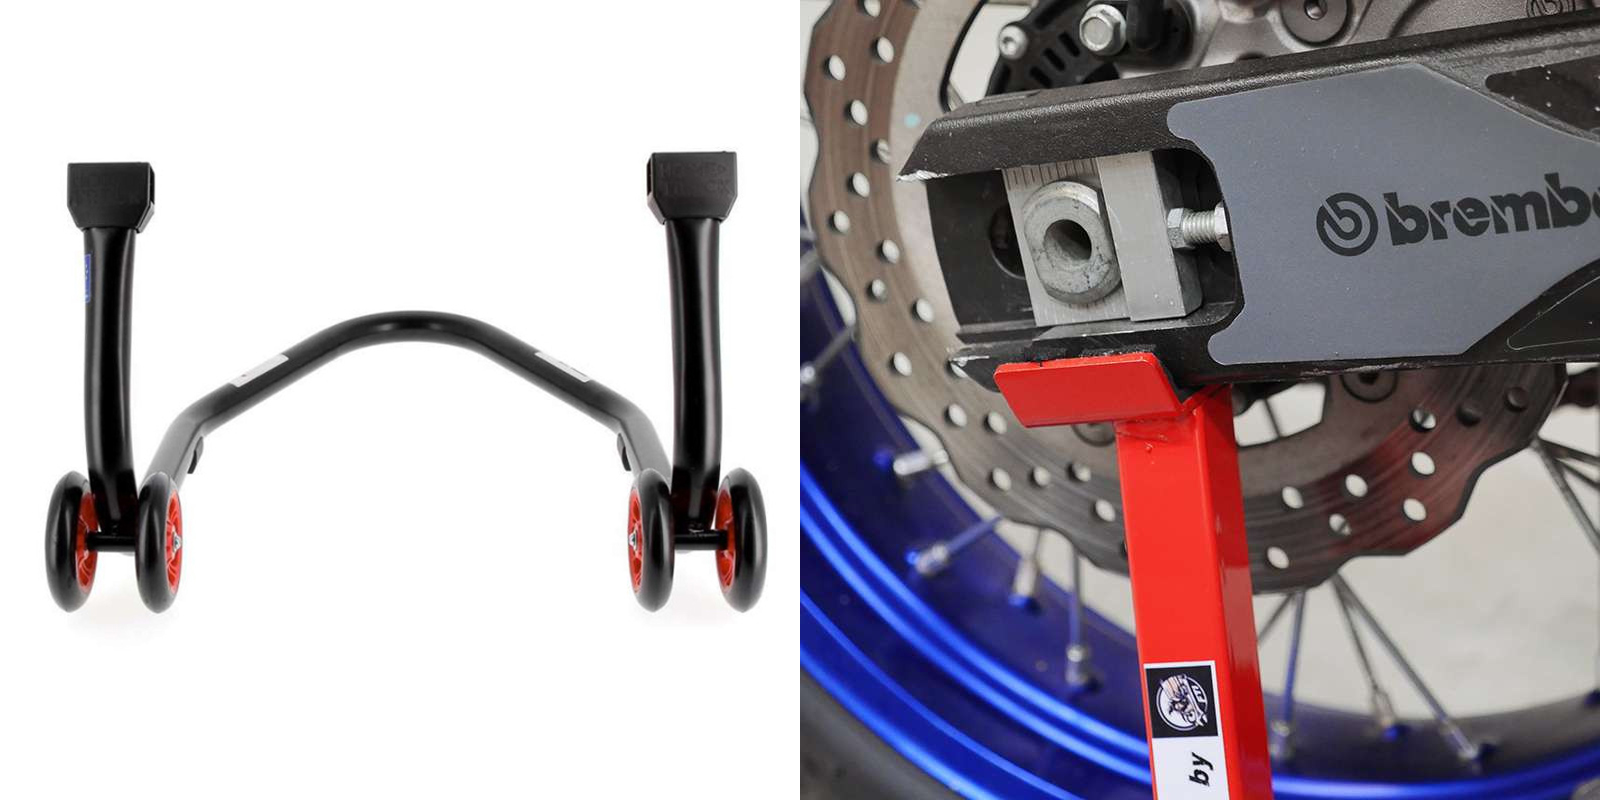
----> Bihr Home Track rear stand with brackets
----> La ForTech by FTI motorcycle maintenance stand
![]()
Step 3: Control
When handling the chain, make sure there are no hard spots. Next, inspect the condition of your sprockets, or rather their teeth to be exact. Do they look worn, or even rinsed? It's time to change the whole kit.
![]()
Last step? Make sure your chain is properly tensioned
In fact, to be precise, you need to check that it's sufficiently slack. If it's under too much tension, the whole kit will wear out prematurely. How to determine the perfect slack? By measuring the difference in height between the high and low points of the chain. Take a look at your manufacturer's manual. It will tell you where to take the measurement and what value is optimal.
Adjusting the tension is a fairly simple operation. Simply lift the rear wheel, loosen the central axle, adjust the adjusting bolts to obtain the desired slack, then retighten the axle. Nothing could be simpler, we tell you! "And, uh, how do I do it if the bolts are up against the stop?". This is a sign that it's time to change your whole chain kit. Take a look at our tutorial :
What to look out for? Make sure your wheel is still properly aligned after adjustment. To do this, simply measure the position of the central wheel axle on each side of the swingarm. It must be exactly the same, otherwise you'll be riding in a crab.
What about the automatic chain lubricator?
You've probably already heard of this device from Scottoiler. Several times voted Product of the Year, this ingenious system guarantees optimum lubrication of your chain thanks to an adjustable drip system. Who is this system for? Those who are always on the go, purists of perfect lubrication, and also those who forget to do the maintenance...
----> Scottoiler vSystem universal automatic chain lubricator (0-30°C)
Squeaky chain, rattling transmission, jerking acceleration: all these are a thing of the past! With a well-maintained kit, you'll be able to ride your bike at its best. The best part? By extending the life of your sprockets, you save money that you can spend on customizing your bike. Win-win, we say!
Header image by pressfoto on Freepik
Our last posts
#interviewmotarde #etonvaoumaintenant #motardevoyageuse #voyagemoto
#hivernale #millevaches #équipementmotard #aventuresmichel
#aventuresmichel #hardefitour #raidenduro #tout-terrain
Aucun produit