#tutorielmecanique #durite #entretienmoto
Nowadays, it's not uncommon to find GP bike innovations on our everyday motorcycles. These include the anti-dribble clutch, variable intake and TFT screens. What's more anecdotal? The fact that technologies from the aeronautics industry have found their way into the world of two-wheelers. That's the subject of today's article: focus on aviation hoses. Why adopt them? How to choose them for your bike? How do you install them? Here are our answers:
The disadvantages of rubber hoses
How does a motorcycle's braking system work?
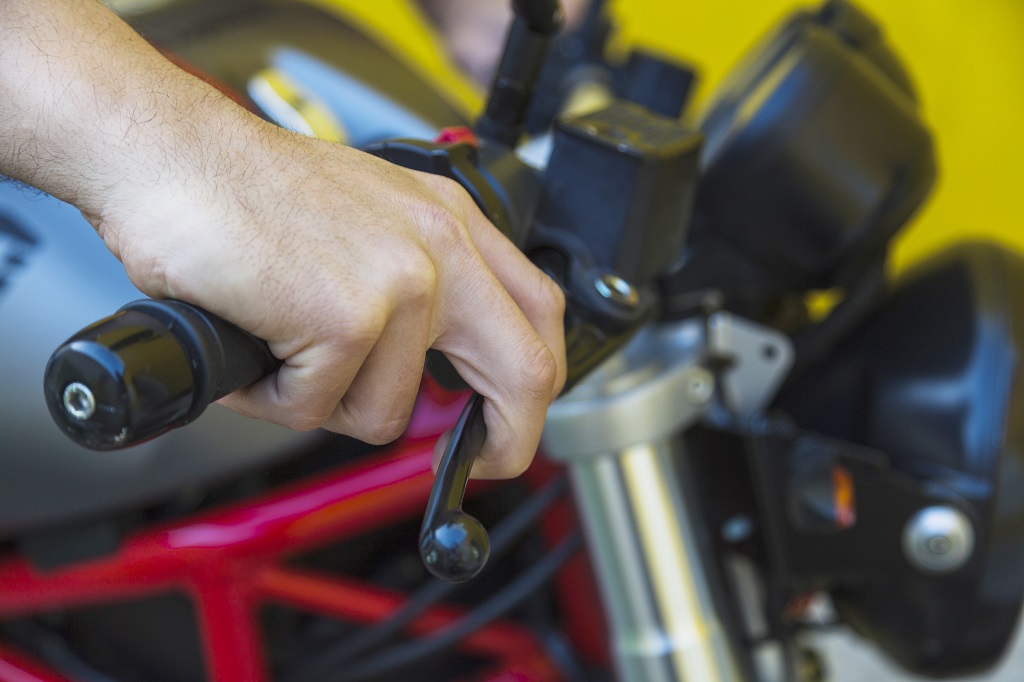
In our first article, we analyzed the anatomy of your braking system. A quick reminder for those who missed the class? When you squeeze your brake lever, you're actually activating a pump - the so-called master cylinder. This circulates DOT from the jar on the handlebars to the caliper. Under the effect of pressure, the pistons move and push the pads into contact with the disc. The result is braking.
![]()
The role of hoses
The mystery component of this well-oiled machine? The hoses. All too often overlooked, they play a crucial role in conveying and containing pressurized brake fluid. Basically, this 2.0 catheter is made of rubber.
![]()
The disadvantages of rubber hoses
This material wears out relatively quickly. With rain, UV rays, temperature variations and gravel, the hose will deteriorate or even crack. Eventually, leaks may appear.
But above all, they lose their ability to resist pressure over time. Simply put, the longer you ride, the softer they become, and the more they expand when you brake. The result? Part of the braking power is lost in this deformation. Inevitably, your stopping distance increases.
There's a 3rd intrinsic flaw. When braking hard, the temperature of the caliper rises, and inevitably that of the hoses too. With the same rigidity as Emmenthal cheese in the sun, the expansion phenomenon is exacerbated. So what happens? You no longer have any bite.
Aviation hoses for your bike, the panacea when it doesn't brake enough
In aeronautics, you can't really afford to opt for hoses as flexible as a hard cheese in the middle of a hot summer. When you're carrying 500 passengers over the Atlantic, you want to be sure that your hydraulic controls are working properly... That's why aircraft manufacturers have developed hoses of unquestionable reliability. And to our great delight, these "aviation" hoses have landed on our everyday grindstones.
![]()
What are aviation hoses made of?
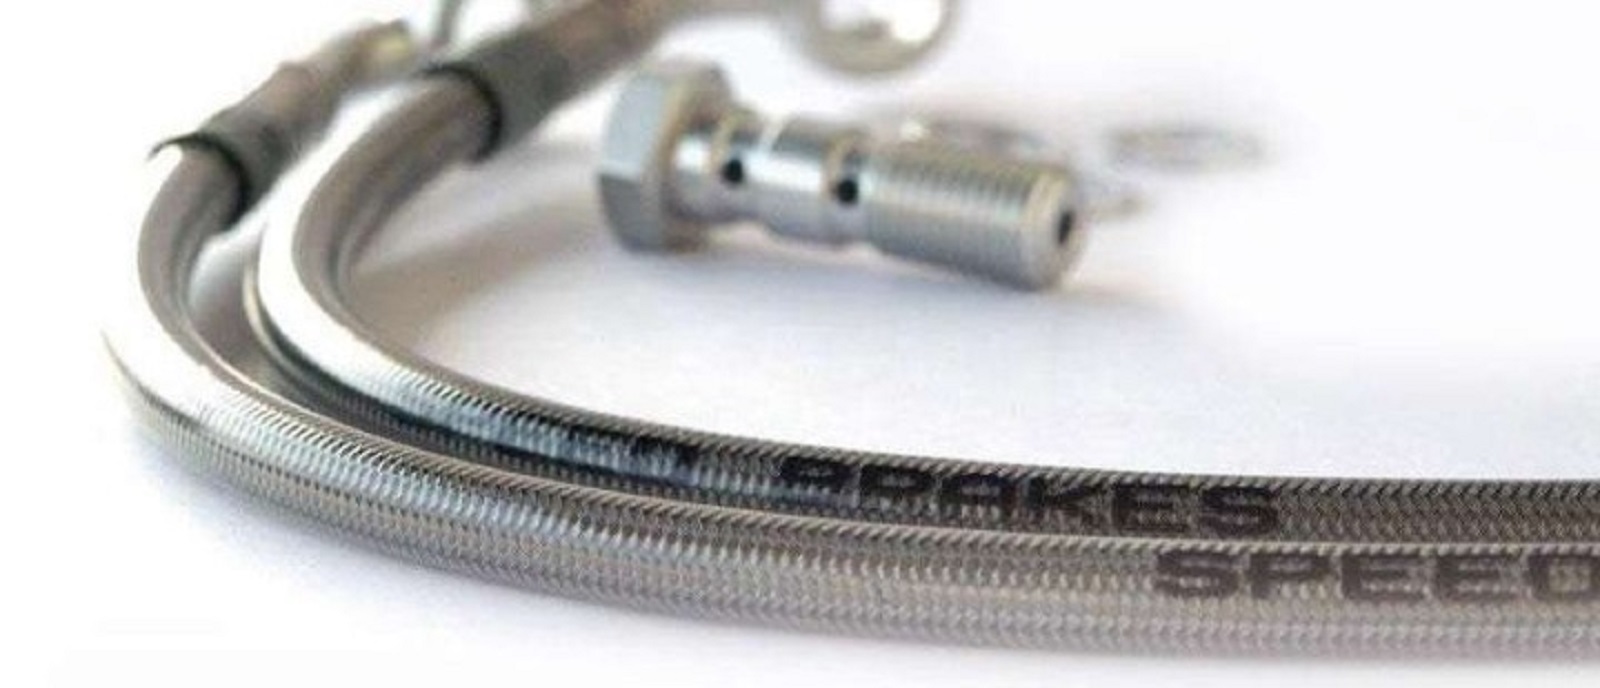
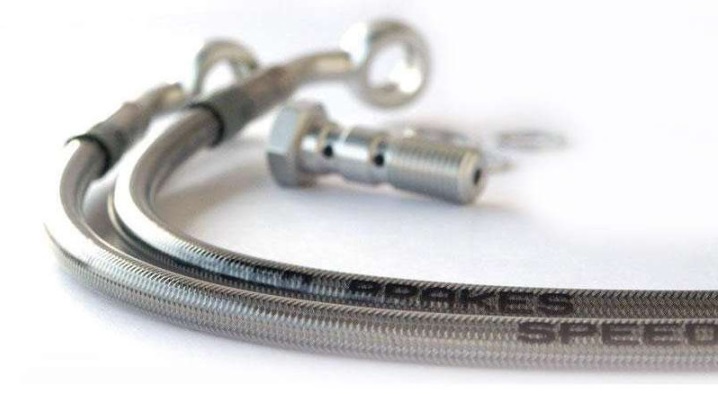
They're made up of a Teflon inner tube for watertightness, and a stainless steel braided outer frame for rigidity, shock protection and to prevent deformation.
![]()

![]()
The design of aviation hoses is rudimentary, but offers many advantages
Firstly, aviation hoses do not expand under the pressure of the liquid. So there's no "line loss" caused by expansion of the hose. As a result, all braking power goes directly to the brake pads, which are exploited to 100% of their potential.
Secondly, thanks to this optimal operation, riding sensations are enhanced. In other words? The feel of the lever is much more precise, offering a clearer touch. This provides ideal braking control.
And finally, aviation hoses have a much longer service life than standard rubber models. This is due to their design and the quality of the materials used. What's more, because they don't deform, they offer constant braking power over time, mile after mile, roadtrip after roadtrip.
How to choose aviation hoses for your motorcycle?
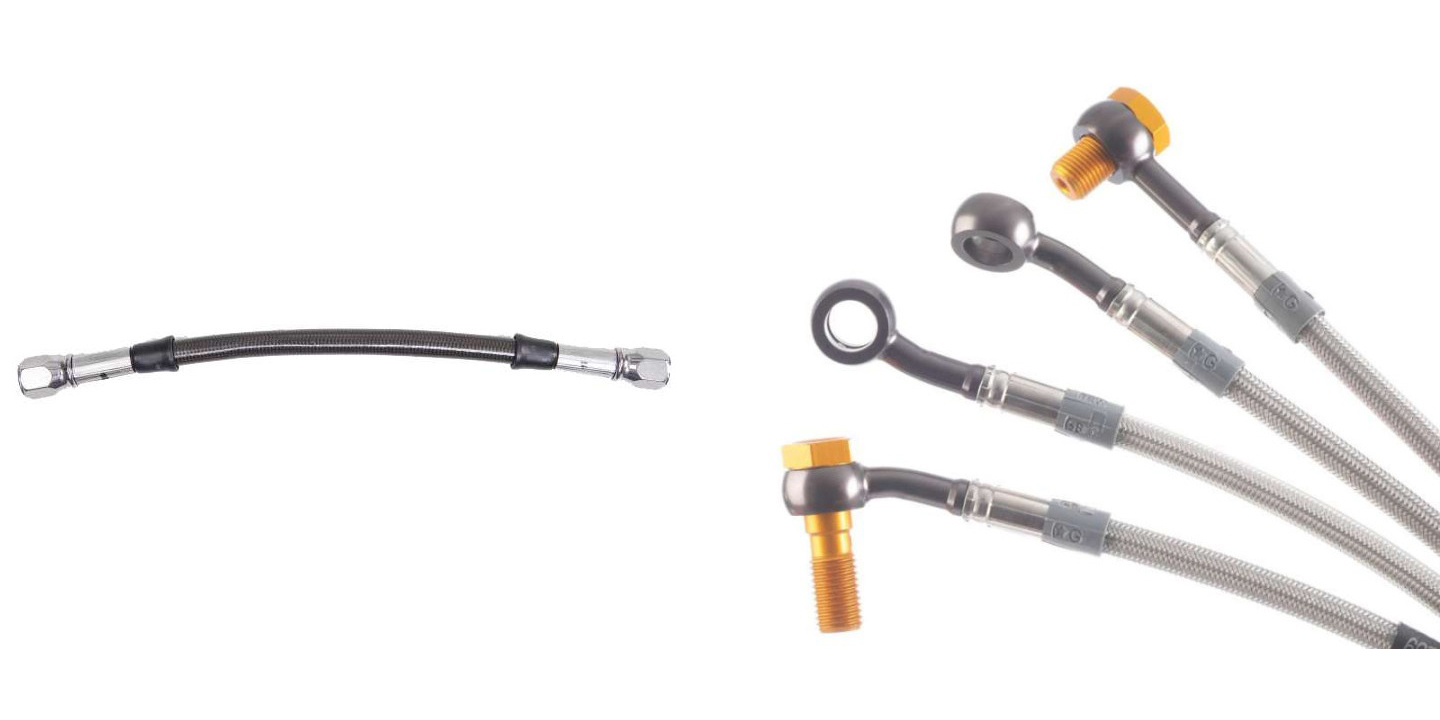
Aviation hoses are designed to withstand high pressures. So you can imagine that we don't connect them with the good old Serflex that's lying around at the bottom of the toolbox. No, the banjo fittings - the connectors found on the caliper on one side and on the master cylinder on the other - are crimped at the factory. This eliminates the risk of leakage.
Hoses are not sold by the meter. What does this mean? You need to buy the right size for your motorcycle. The first criterion is compatibility with your bike.
The second? The quality of the model. Indeed, longevity and sturdiness vary from brand to brand. That's why Ixtem Moto distributes products from Speed Brakes and Braking.
Finally, you should know that there are different colors available for each model. Black, blue, red, gold, silver - it's all a matter of taste.
![]()

How to install aviation hoses on your motorcycle
Replacing your rubber hoses with aviation models doesn't require a mechanical CAP, Mirage 2000 option. It's a simple operation that could be likened to low-level plumbing. However, it does involve a fairly essential part of the bike. So if you're not sure, don't do it. The risk? The first time you hit the brakes, nothing happens, and you end up either - delete as appropriate - in the bumper of a granny who didn't ask for it, exploring underwater in a ditch, or as Motardus Arboricolus perched on a tree.

What tools do you need?
Just a set of wrenches, screwdrivers, plenty of tea towels and gloves(brake fluid is not good for the skin). Of course, you'll also need the right aviation hose kit for your bike, as well as brake fluid. And yes, if you're going back with new plumbing, you might as well replace the DOT 4 or 5.
![]()
Step 1: Bleed the brake system
The aim is simple: drain the brake fluid to avoid spilling it all over your wheel. To achieve this, follow the steps below:
- Open the master cylinder cover.
- Unscrew the bleeder screw on the brake caliper, taking care to place a container underneath to catch the precious DOT.
- Pump the lever to drain the brake fluid.
- Once the circuit is completely drained, close the bleed hole.
- Repeat for each brake caliper.
![]()

![]()
Step 2: Dismantle existing hoses
During this step, don't hesitate to take regular photos to make sure you can reproduce the correct routing of the hoses during reassembly, and to immortalize the order of any sealing washers on the fittings.
- Unscrew the banjo fitting on the master cylinder side.
- Unscrew the banjo fitting on the brake caliper side (bring cloths to avoid spilling DOT all over your bike).
- Disengage the hoses from any clips or fasteners holding them to the fairing, fork and frame, then pull them out.
- Repeat for each brake caliper.
![]()
Step 3: Reassembly
Before embarking on a proper reassembly, it's a good idea to check that your new hose kit fits your bike properly. To do this, you can superimpose it on your old hoses to ensure that the dimensions are identical.
- Position the hoses in the correct position, taking care to follow the original routing (see photos).
- Refit the banjo fitting on the master cylinder, taking care to respect the order of any sealing washers.
- Refit the banjo to the caliper (this sentence sounds very western).
- Secure the hoses using the various clips and fasteners on the fork (or swingarm for a rear caliper).
- Repeat the operation for each brake caliper.
![]()
4th: Replenishing the brake system
- Fill master cylinder reservoir
- Loosen bleed screw on brake caliper
- "Pump the brake lever to initiate DOT4 descent.
- Close the bleed screw when the fluid starts to come out.
- To expel air from the circuit, keep the brake lever pressed down, while opening and closing the caliper bleed screw to evacuate fluid mixed with air.
- Repeat this operation until only fluid comes out. The brake lever then becomes harder to operate. This is what we're looking for.
- Check the level in the jar and top up if necessary.
- Replace the jar seal and lid, then close. You're done!
Incidentally, there's a good chance that those new aviation hoses will last as long as your bike. That's another advantage of choosing quality gear. Looking for other ways to pamper your bike and show it the love you've got for it? Then take a look at our mechanical tutorials, such as maintaining your chain kit, replacing your air filter or checking your spark plugs.
.
.
.
.
Image credit: photo brake lever image from Freepik
Our last posts
#interviewmotarde #etonvaoumaintenant #motardevoyageuse #voyagemoto
#hivernale #millevaches #équipementmotard #aventuresmichel
#aventuresmichel #hardefitour #raidenduro #tout-terrain
Aucun produit
