
#brake caliper #mechanics #tutorial
Pampering your motorcycle in the warmth of your garage has many benefits. It teaches patience and meticulousness, enriches your lexicon of pet names and shows how much you care about your bike. With this in mind, today we're offering you a new detailed tutorial: how to rebuild your brake calipers. The aim? Rediscover optimal braking and extend the life of your brake pads, while communicating with your two-wheeled sweetheart.
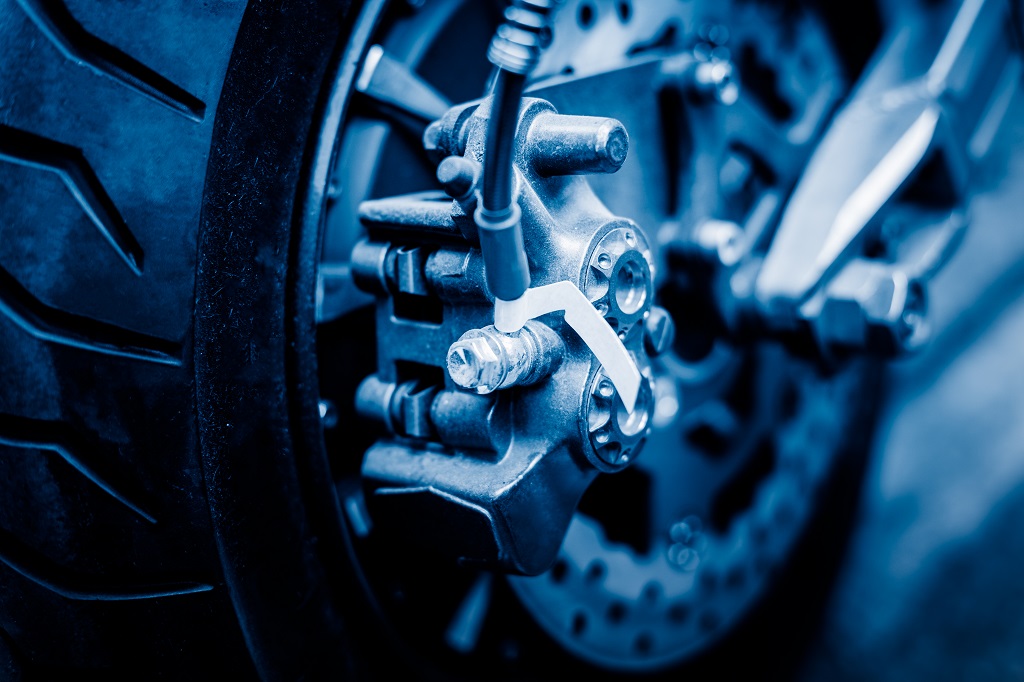
How do I know if my brake calipers need rebuilding?
Dust, dirt, grime: your calipers take a beating. What' s more, every time you brake, lining residues accumulate on the pistons, forming a crust that prevents them from sliding freely. A good overhaul is therefore not a luxury, but a normal maintenance operation.
That said, what are the symptoms that indicate it's time to roll up your sleeves? First, there's the feeling. Less effective braking, loss of bite, brake lever a little soft on the knee: all these sensations should tip you off.
Feelings are all very well, but fortunately there are also physical signs that can't be mistaken. If your bike squeaks when you push it from a standstill, it means that a piston has seized up. It doesn't come back into place. So your bike brakes continuously. Not great for the longevity of your disc and pads. Speaking of pads, are they worn asymmetrically or at an angle? This may indicate that the pressure exerted on them is not uniform. The caliper pistons no longer slide freely. Time for disassembly!
![]()
What tools and spare parts do you need?
A stirrup rebuild is a very simple operation! However, there are a few surprises in store. It can take from 30 minutes if your pistons are fairly clean, to two hours if they're badly seized. In that case, it's a good idea to brush up on your swear words before you start.
![]()
List of tools for renovating brake calipers
Good-qualityAllen keys, wire brush, set of flat keys, blowgun, gasket extractor and a syringe to draw brake fluid from the jar. Grinders, sledgehammers and plasma cutters should be kept out of sight, so as not to be tempted to use them in the heat of the moment.
Super important: brake fluid is highly acidic, so don't spread it on your fingers or all over your bike. So bring a pair of gloves and plenty of rags.
![]()
Spare parts list for brake caliper renovation
When it comes to spare parts, you' ve got two options: the complete refurbishment kit or the "à la carte" purchase. In the latter case, you'll need piston spigot seals, dust seals, new brake pads (if your current ones have worn oddly), bellows for floating calipers and new brake fluid for a possible top-up.
Step-by-step tutorial for renovating your motorcycle's brake calipers
Let's get started. The ultimate goal of this manipulation? Extract the pistons so you can scour the whole thing. Easier said than done, as the whole thing is seized up to the core. By the way, we strongly recommend that you read our first article on the anatomy of the stirrup before embarking on its carnal stripping.
![]()
1 - Removing the brake caliper
Generally speaking, only two screws hold the body to the fork. Simply unscrew them to remove the caliper.
![]()
2 - Drain the brake fluid
Start by opening the lid of the jar on the handlebars to remove the precious fluid. A syringe is the ideal tool for this operation.
You can then dismantle the brake hose connected to the caliper by unscrewing its Banjo connector (it has a peculiar shape: round on one side, straight on the other, which apparently earns it its curious nickname). Keep a few rags close by, as the liquid still in the hose will run down your fingers. Your caliper is now completely disconnected from the bike.
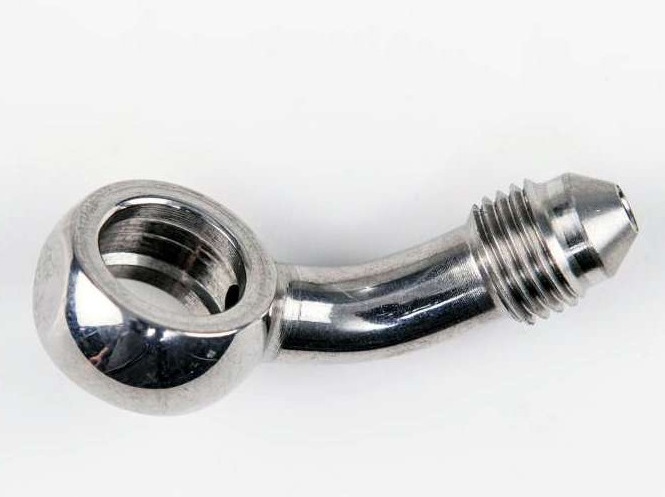
----> Braking connector (banjo) Braking steel 45° M10
![]()
3 - Removing the brake pads
Simply remove any pins and unscrew the pins on which the pads slide. Take this opportunity to inspect them. Are they worn at an angle? Are they glazed? Is one side rinsed, but not the other? If all the answers to this MCQ are yes, then it's high time to start rebuilding your caliper.
![]()
4 - Split the block in two (only if your bike has floating calipers)
As we saw in the previous article, there are two types of caliper: fixed and floating. In the former, the pistons work face to face, while in the latter, they are located on one side of the caliper only. For these models, you need to separate the jaw (the part of the block housing the pistons) from the lug (the part that holds them to the fork). Generally speaking, simply pull the two parts apart without forcing them.
![]()
5 - Removing the pistons from the caliper
Now the fun begins. But why? This operation can take from 10 minutes if the system is "clean" to 2 hours if it's seized up.
- Method 1: Simply pull the pistons out of the cylinders with your fingers. Yes, it can work, it's not a myth. You can also use flat-nose pliers to gently pinch and dislodge them, or even better, a piston remover!

- 2nd method: Using compressed air. Simply connect your blowgun (connected to your compressor) in place of either the banjo coupling or the bleed screw. The pressurized air takes the place of the brake fluid and pushes the pistons out of their cylinders. Be careful not to leave your fingers lying around, as the piston may suddenly pop out like a champagne cork. You can put a rag or newspaper in place of the pads to prevent it flying across your garage or into your eyes.
- Technique 3: Hydraulic pressure. To make it simple, just reconnect the brake hose, put some fluid back in the jar and pump on the lever until the piston pops out.
.
If your brake caliper has a single piston, then the operation is straightforward. But what if there are two, four or even 6? You have to rack your brains to find a way of bringing them all to the end of their stroke simultaneously. Indeed, in this specific position, they are easy to extract and retain their plug function - allowing the others to slide out under pressure.
Clamps, sockets and vises, the fingers of an unruly child: anything goes when it comes to locking a piston in place. Our preferred method? Wedge a wrench in place of the pads. The least seized piston will come out first. Then, by continuing to apply pressure, the 2nd will follow, and so on. Rest assured, this is the only complicated step in this tutorial.
![]()
6 - Inspect the pistons
Now it's time to determine whether your pistons are still viable. How can you tell? If they have a smooth, shiny surface with no bumps, then they're fine. You can simply polish them by rubbing them with steel wool and brake cleaner. However, if they show signs of corrosion, abnormal deformation or are marked, it's time to replace them.
![]()
7 - Remove the seals (spis)
When rebuilding calipers, it' s essential to fit new gaskets. Pulling them out of their grooves couldn't be easier.
The perfect tool for the job? The gasket remover. It's simply a metal rod with a pointed, curved end to catch the rubber. Don't have this tool in stock? If not, you can opt for a very fine flathead screwdriver or a scribing tip.
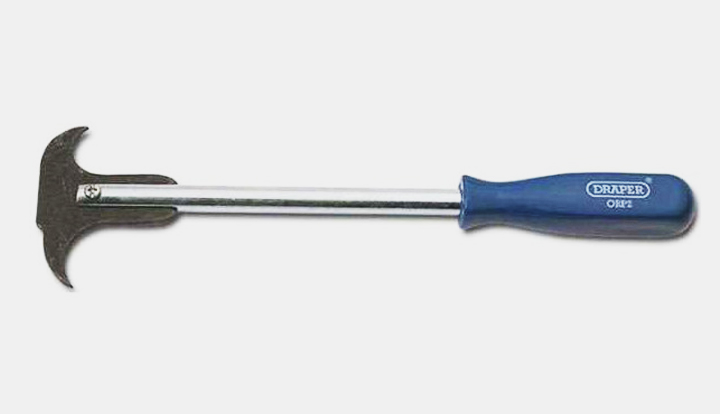
----> DRAPER spy / O-ring puller
There's a subtle difference between different caliper models. Almost all have a spigot seal AND a dust cover. However, this second thief is sometimes located inside the cylinder (in a notch next to the spigot seal), sometimes outside (wedged between the caliper block and the pads).

8 - Scrub notches and clean cylinders
If your pistons are seized up, chances are your oil seal notches are too. How do you clean them? Use a wire brush (either hand-held or screwdriver-tipped) to scrape out any impurities in the groove.
Using brake cleaner and the same wire brush, you can clean the inside of the cylinder to remove any traces of rust from the bottom and walls. Be careful not to damage them by going at them like a brute. Finish by blowing away any impurities, and you're done.
![]()
9 - Install new gaskets
What should be changed systematically, without question? Piston seals and dust covers. What about the pistons themselves? That depends on their condition. If you've bought a rebuild kit, you'll also find a new bleed screw cap, copper washers for the banjo fittings and, most likely, new bellows (only for floating calipers).
We start by fitting the spigot seals. You can brush them and the groove with brake fluid beforehand. Next, we introduce the piston. It has to be perfectly straight when you push it in. Need to force it into the cylinder? Then stop immediately and scrub again.
For floating calipers, remember to fit new bellows and grease the pins where the brake pad slides on the shoe.
Finally, you can install the brake pads, having greased the pins on which they slide. Is it compulsory to fit a new set when rebuilding? Yes, if they are abnormally worn, otherwise the pistons won't work in line.
![]()
10 - Reassembly on the motorcycle
Before refitting the caliper, check that all the pistons are fully retracted into the cylinders. Since new brake pads have thick linings, you need to free up as much space as possible, otherwise the disc won't fit in. Once in place, all you have to do is screw the two fixing screws to the fork and reconnect the brake hose using the Banjo connector.
![]()
11 - Replenish brake fluid
Fill the jar with DOT 4 or 5.1 and drain the air from the circuit using the bleed screw.
Your calipers are as good as new! You've just added another string to your biker-mechanic bow. Wondering how you can give your grinding wheel even more attention? How can you show it how much you care? Then take a look at our other mechanical tutorials: tire care, engine oil change, chain kit care, there's no shortage of topics.
.
.
.
.
Image credit :
Our last posts
#interviewmotarde #etonvaoumaintenant #motardevoyageuse #voyagemoto
#hivernale #millevaches #équipementmotard #aventuresmichel
#aventuresmichel #hardefitour #raidenduro #tout-terrain
Aucun produit